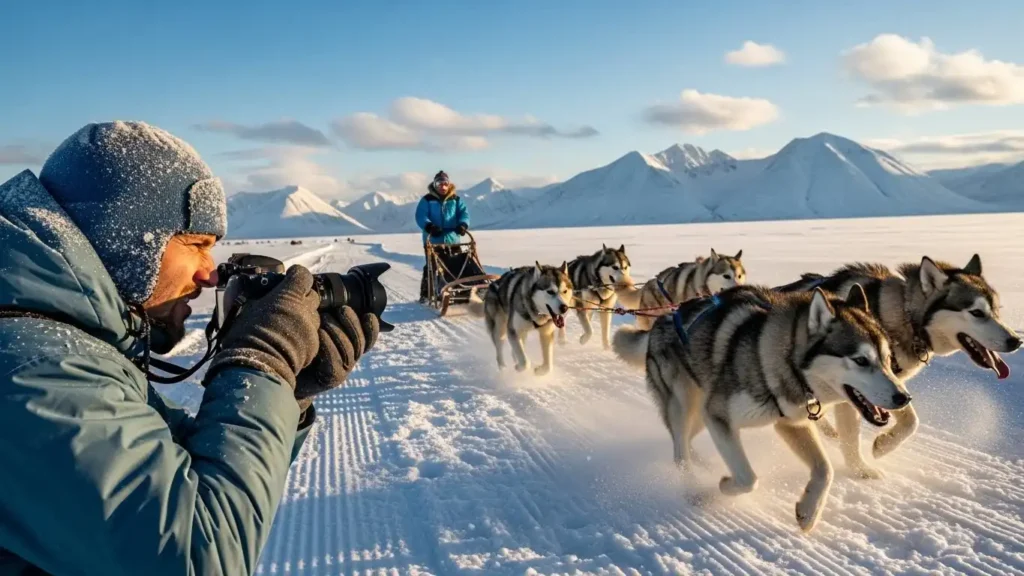
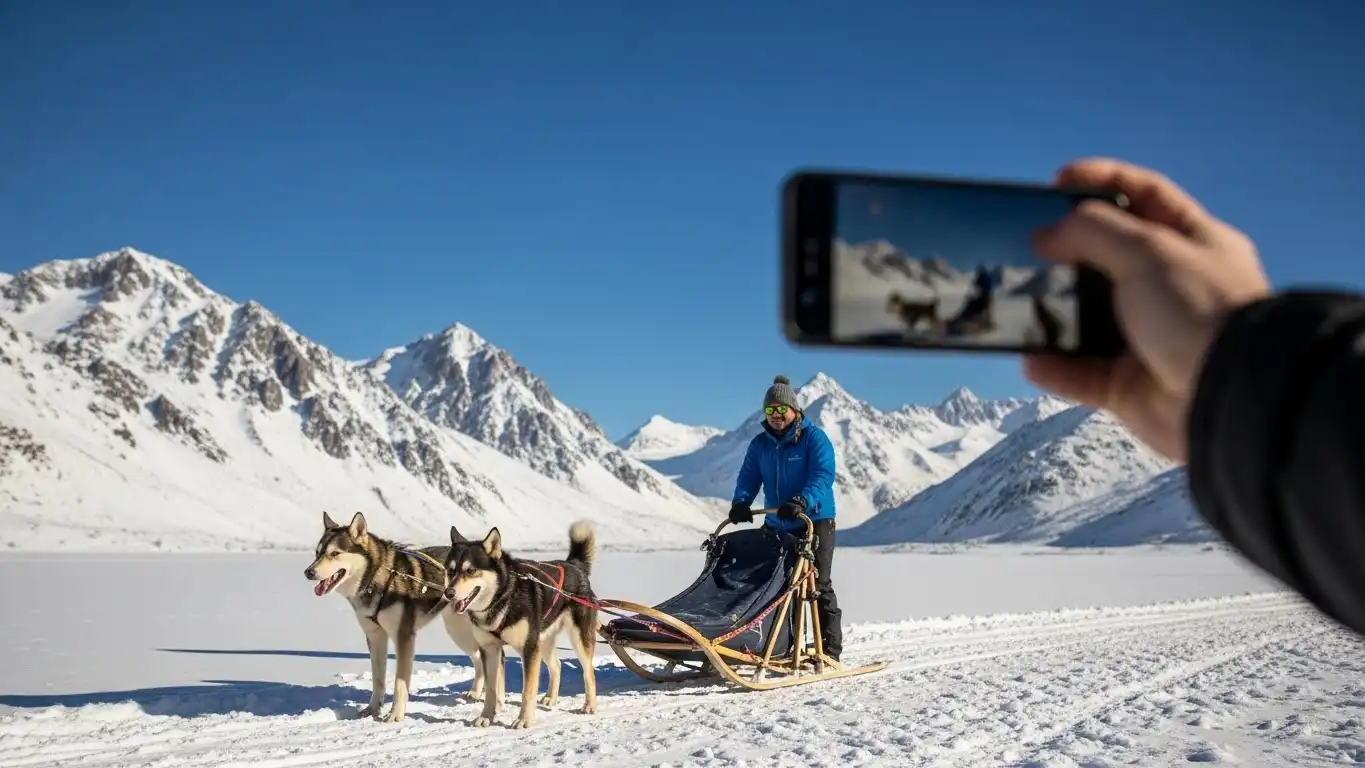
Dog sledding is more than just a thrilling adventure; it’s a unique way to experience the beauty of nature at its most raw. Picture a team of eager, powerful dogs pulling a sled across vast stretches of snowy wilderness, their breath forming frosty clouds in the crisp, cold air. As the musher commands the team, a symphony of movement unfolds, creating moments that are just begging to be captured on film.
Capturing the essence of dog sledding through photography can be both a challenging and rewarding experience. The rapid pace of the sled, the stunning winter landscapes, and the interactions between the dogs and the musher provide opportunities for dynamic photos that tell a compelling story. However, it requires the right techniques, equipment, and preparation to effectively capture those split-second moments.
In this guide, we’ll explore photography tips and tricks that will help you take stunning photos during your dog sledding adventure. Whether you’re a seasoned photographer or a beginner looking to improve your action shots, this guide will give you the tools to document your adventure like a pro.
1. Gear Up for Success: Choose the Right Camera Equipment
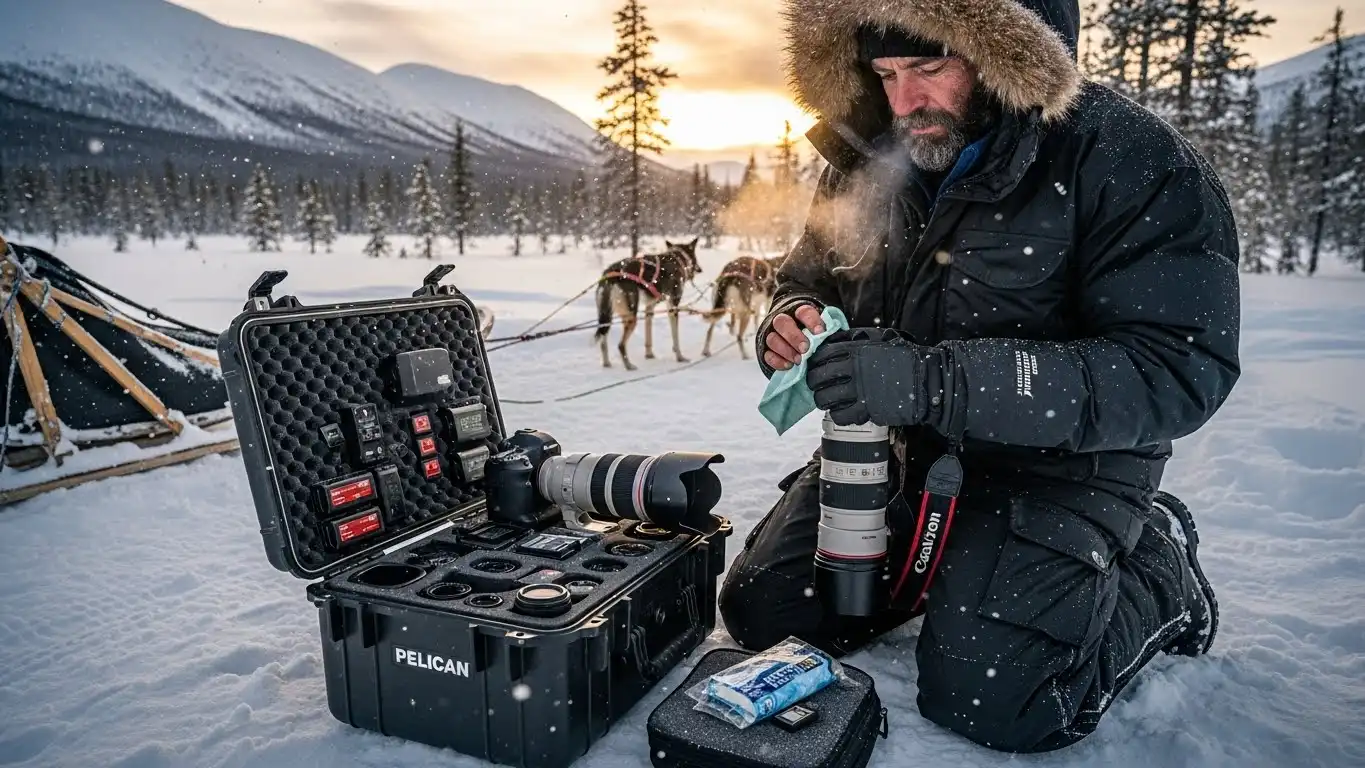
When photographing dog sledding, your gear plays an essential role in the quality of the images. While a professional camera will yield the best results, it’s possible to get great shots even with a less expensive camera. The key is knowing what kind of equipment will help you best capture the action and beauty of the scene.
Recommended Camera Gear:
- DSLR or Mirrorless Camera: If you’re serious about capturing the adventure, a DSLR or mirrorless camera is your best option. These cameras provide manual control over your settings, allowing you to adjust shutter speed, aperture, and ISO to suit the dynamic conditions of dog sledding. A mirrorless camera is lightweight and easier to carry, which can be important in outdoor settings.
- Wide-Angle Lens: A wide-angle lens is perfect for capturing the vast, beautiful landscapes of snow-covered terrain. You can also use a wide-angle lens to fit both the sled team and the surrounding environment into the frame. A lens with a wide aperture (f/2.8 or f/4) is essential for shooting in the dim light of winter mornings or evenings.
- Telephoto Lens: A telephoto lens (e.g., 70-200mm) is ideal for capturing close-up shots of the sled dogs from a distance. It allows you to stay out of the action while still getting close, sharp images of the dogs running, pulling, and interacting with the musher. This is especially useful when photographing from a distance or when you’re riding along in the sled.
- Fast Memory Cards: Fast memory cards are essential when photographing action-packed scenes like dog sledding. These cards allow you to shoot in burst mode without any lag, ensuring you don’t miss any key moments.
Additional Accessories:
- Lens Hood: A lens hood is a must-have for protecting your lens from snow and moisture. It also helps reduce lens flare when photographing under bright conditions.
- Tripod or Monopod: A tripod can be useful for landscape shots, but in fast-paced dog sledding situations, a monopod may be a better option for stability while still allowing you to move quickly.
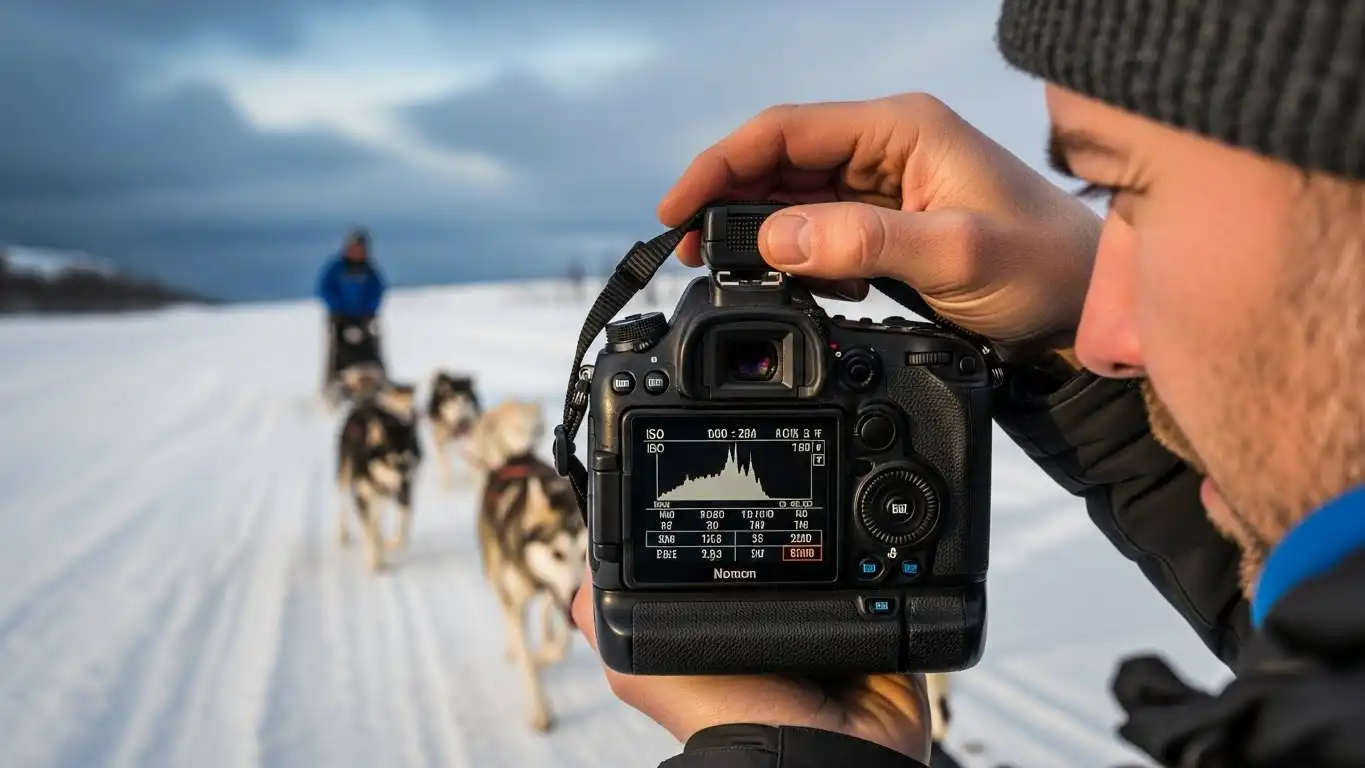
2. Mastering the Exposure Triangle in Cold Conditions
Winter photography presents unique challenges, especially when dealing with snow. The bright, reflective surfaces can confuse your camera’s metering system, causing underexposure. To get the perfect shot, you need to understand how to manipulate the three elements of the exposure triangle: shutter speed, aperture, and ISO.
Shutter Speed:
In dog sledding, you’re capturing fast action, so it’s crucial to use a fast shutter speed. To freeze motion, aim for a shutter speed of at least 1/500s. If you’re photographing particularly fast moments, such as dogs leaping through the air, consider increasing your shutter speed to 1/1000s or faster.
However, if you want to introduce some motion blur for creative effect (for example, to capture the motion of the sled or the dogs’ movement), you might opt for a slower shutter speed, like 1/250s. Just be mindful of the action and make sure you’re not blurring too much of the subject.
Aperture:
A wider aperture (a smaller f-number like f/2.8 or f/4) is beneficial for winter photography because it lets in more light. This is especially helpful in snowy conditions where you might be working with limited daylight. A wide aperture also creates a shallow depth of field, which isolates your subject (e.g., the musher or the dogs) from the background, giving your photos a professional look.
If you want both the dogs and the surrounding landscape in sharp focus, you’ll need to use a smaller aperture like f/8 or f/11. This will increase the depth of field, making sure everything from the sled to the horizon is in focus.
ISO:
The bright snow reflects a lot of light, which often tricks your camera’s metering system into thinking the scene is brighter than it is. For this reason, you may need to reduce the ISO to keep the image from becoming overexposed. Start with an ISO setting between 100 and 400 to preserve the clarity of the snow.
However, if the weather is overcast or you’re photographing at dusk or dawn, you’ll need to raise the ISO to ensure proper exposure. A setting between 800 and 1600 is typical for winter conditions, but be careful not to push the ISO too high, as noise can become an issue.
3. Frame the Action: Composition Tips for Dog Sled Photos
Composition is essential in photography, especially when you’re trying to capture the fast-paced action of dog sledding. By framing the shot carefully, you can highlight the key elements and create visually stunning images that convey the excitement of the adventure.
Rule of Thirds:
The rule of thirds is a fundamental composition technique that helps you avoid placing your subject directly in the center of the frame. Instead, divide the frame into thirds both horizontally and vertically, and place your subject along these lines or at their intersections. This creates a more dynamic, balanced composition.
In dog sledding photography, you might position the musher or sled dogs along these lines, leaving space in the direction they’re moving. This technique adds movement and a sense of forward momentum to your photos.
Leading Lines:
Leading lines can draw the viewer’s attention to the main subject of your photo. In snowy dog sledding landscapes, use the sled’s trail or the dogs’ tracks in the snow as natural leading lines. These lines guide the viewer’s eye to the sled team, emphasizing their movement through the landscape.
Action Shots:
One of the highlights of dog sledding photography is capturing the raw power and energy of the dogs in action. To do this, be ready to shoot continuously. Set your camera to burst or continuous mode, which will allow you to take multiple shots in quick succession. This increases your chances of capturing the perfect moment when the dogs are mid-run, with their muscles tense and their paws airborne.
Another great way to capture action is by panning with the sled dogs. Follow their motion with your camera as they race past, keeping the sled team in focus while blurring the background to convey speed.
Candid Moments:
In addition to action shots, candid moments can tell a more intimate story about the dog sledding experience. Capture the bond between the musher and the dogs as they prepare for the journey, or photograph quiet moments when the dogs take a break and rest. These shots add depth to your story and provide a break from the fast-paced action.
4. Focus on the Details: Close-Ups and Portraits
While wide shots of the sled team in motion are essential, close-ups and portraits help tell a more complete story. Capturing the expressions of the dogs and the interactions between the musher and the dogs adds an emotional layer to your photos.
Dog Portraits:
Close-up portraits of the sled dogs can reveal their personality and determination. Focus on their eyes to capture emotion, and use a wide aperture to blur the background. The snow-filled landscape will add context without distracting from the subject.
Musher’s Interaction:
Photograph the musher interacting with the dogs or maneuvering the sled. These moments showcase the skill and leadership required to handle the team. Get close enough to capture the musher’s expressions, hands on the sled ropes, or even the snow and ice splashing up from the ground. These details contribute to the narrative of the dog sledding experience.
5. Dealing with Snow and Light Reflection
Snowy conditions present both an opportunity and a challenge for photographers. Snow is highly reflective, which can lead to overexposure in your photos, especially on bright, sunny days. Here’s how to manage this:
Overexposure Compensation:
When photographing snowy landscapes, it’s common for the camera’s metering system to incorrectly expose the scene, leading to underexposed photos. To avoid this, use +1 to +2 EV (exposure compensation) to brighten the image and preserve details in the snow and the landscape.
Polarizing Filters:
Polarizing filters are essential for managing glare from the snow. These filters help reduce reflections and increase contrast, making the sky bluer and the snow appear more textured. When using a polarizer, you’ll notice richer colors and better clarity in your photos.
6. Timing is Everything: Capture the Best Moments
Timing is critical in dog sledding photography. Many exciting moments unfold quickly, so being prepared and knowing when to click the shutter can make all the difference.
Golden Hour:
The golden hour – the period just after sunrise and before sunset – is the best time to photograph dog sledding. The light is soft, warm, and flattering, creating beautiful contrasts between the dogs, sled, and snow. The low angle of the sun also casts long shadows, which adds depth and drama to your photos.
Action Shots at Peak Moments:
To capture the full intensity of the dogs’ movement, wait for key moments when the dogs are mid-stride. Whether they’re pulling the sled with power or leaping over obstacles, these peak moments bring your photos to life. By anticipating the action, you can capture dynamic shots at the right moment.
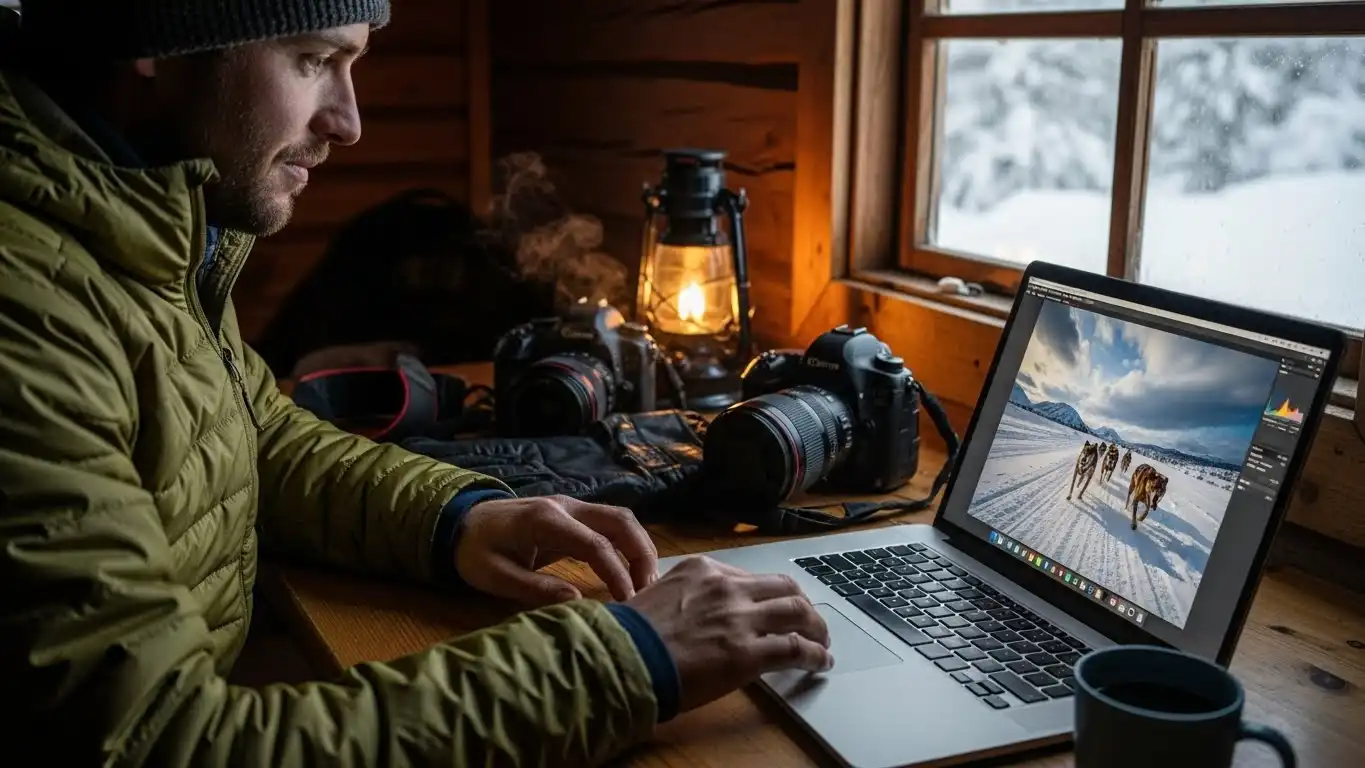
7. Post-Processing: Enhancing Your Dog Sled Photos
Once you’ve captured your photos, post-processing is the final step to making them shine. Use editing software like Adobe Lightroom or Photoshop to refine your images.
Adjust Exposure:
If the snow is too bright or the shadows are too dark, adjust the exposure. Fine-tuning the highlights and shadows will bring out the details in the dogs and the landscape.
Sharpen the Image:
Action shots can sometimes be soft, so applying a little extra sharpening helps bring out the details, especially in the dogs’ fur and the sled.
White Balance:
Snow can create a cool or warm color cast depending on the lighting conditions. Correct the white balance to ensure the snow appears white, rather than bluish or yellowish.
Conclusion: Capturing the Spirit of Dog Sledding
Dog sledding is a thrilling, dynamic activity that offers ample opportunities for breathtaking photography. By understanding your camera settings, perfecting your composition, and anticipating the action, you can capture stunning images that showcase the energy and beauty of the sledding experience. Whether you’re documenting the fast pace of the dogs or the serene winter landscape, these tips will help you create a photo album filled with memories of your adventure on the trails.